Before we begin with setup I assume that you have downloaded latest version of davmail for windows and understand working of davmail to connect to the exchange server with EWS.
Installation on Windows
We will install Davmail version 4.8 on Windows 7. However you are free to install latest version of davmail. Installation steps will remain same for all other versions of windows.
Before we begin
- Davmail is written in
Javaand requiresJREfor installation. Windows should have latest version of Java installed but in case it's not installed then Davmail setup will install Java during installation . Bottom line is you don't need to install anything manually. - The good part of installation is you don't require admin rights to get davmail running on windows.
DavMail Installation
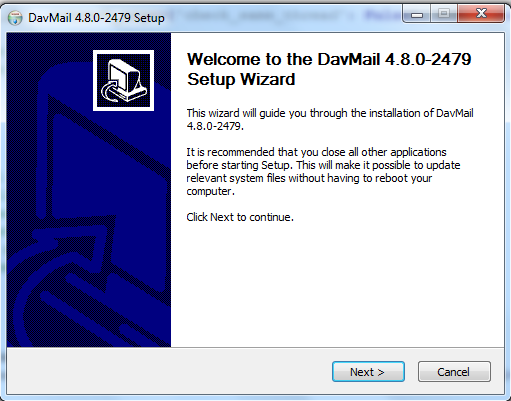
- Run downloaded davmail exe file.
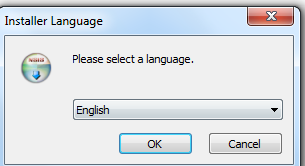
davmail-4.8.0-2479-setup.exe - Select Language
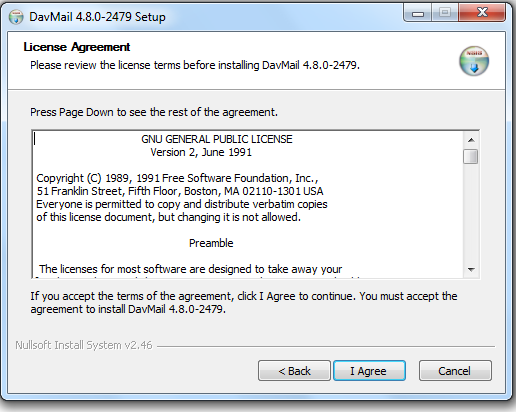
- Click Next and Accept Agreement
- Path For installation
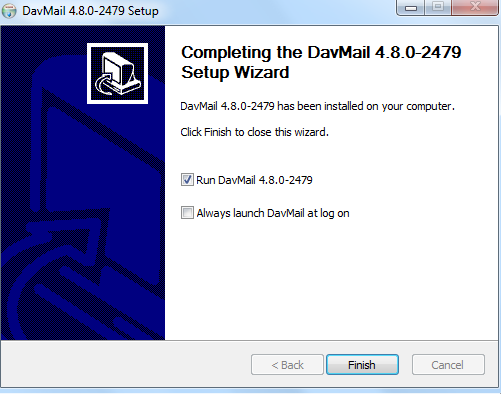
- Installation Succeeded
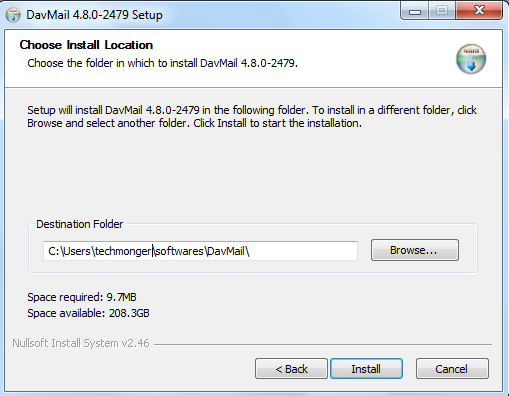
If you don't have an admin access then please provide path accessible by you for read, write and execute.
DavMail Configuration GUI

Once installation completed you would see above window to configure DavMail with exchange mailbox. We will change this configuration to setup exchange account with Thunderbird in next post.